Enough of that, today I completed the riveting of the boot cowling, it was a little awkward to do myself, but I really like to hold the gun and the bucking bar if I can. I started by installing the repair strips to close off the numerous incorrectly drilled holes. They came out pretty good considering. Here is a shot of the right side.


Here is a picture of the left side.

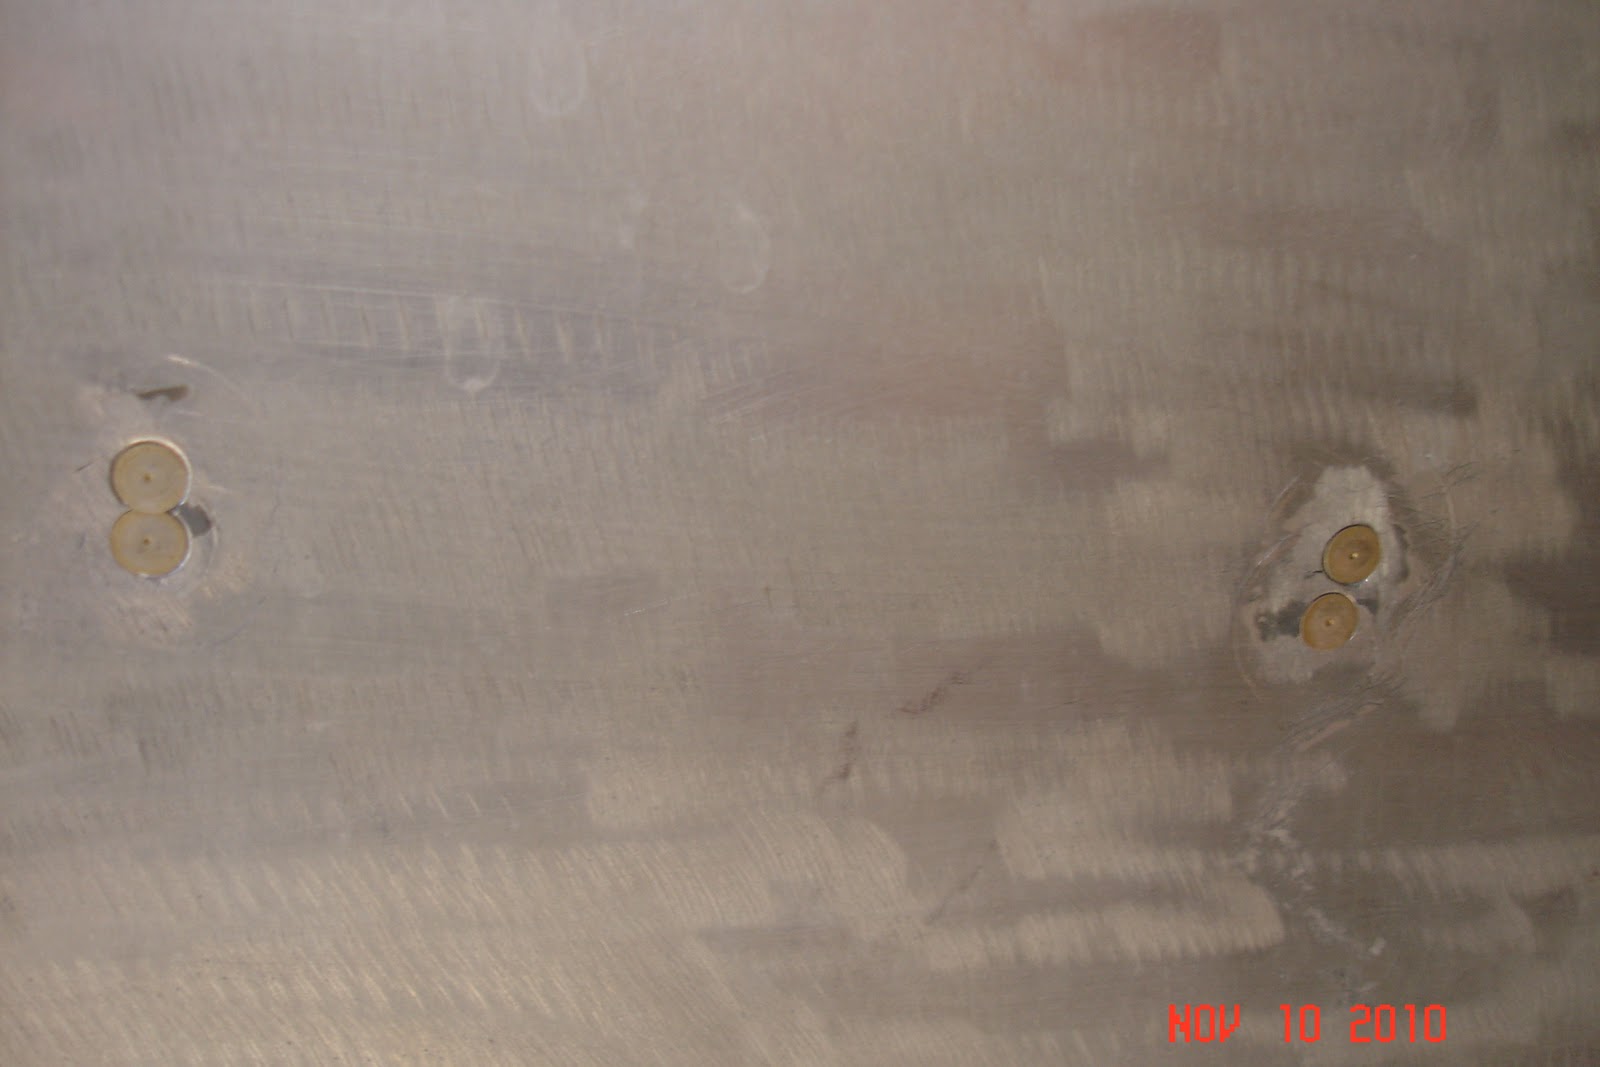
Here is a shot of the really ugly double screw hole drilled in the top row, it will take just a little filler in the voids otherwise they will really show in the paint.
I then riveted the cover plate over the spot where the gascolator is located. Yes, I thought about the aluminum rivets but by the time these melt it will be too late anyway.

With this finished I then riveted the 10 windshield nutplates on the inside. Here I am getting ready to work, it was a beautiful clear cool day.

Here they are all finished.

I then fitted everything up to check if it all still fit and to figure out what was next. I'm starting to get close on this part.


With all this fitted I committed to a plan for the filler neck grommet. I liked the Univair Ercoupe grommet best so I had to increase the size of the hole in the boot cowl to 3 1/8 inches and relocate it aft about 1/4 inch. A side benefit of this was that I could now get the boot cowl on with the clecos installed . This meant that I could re-rivet the top seam instead of using screws as previously planned.

Since I had already drilled these out #30 for the screws I had to use 1/8 rivets instead of the original 3/32. With such thin sheet metal I got just a little distortion when driving the rivets.

Tomorrow I hope to do a final fit up and drill the screw holes in the aft edge on the side of the fuselage. Hopefully it will be ready for white paint this weekend when the weather warms up a little. That's it for tonight.

No comments:
Post a Comment