Since I did not take many pictures, it's hard to describe the work that took place between the 18th and the 23rd. It is amazing how much work you can get done without the great time waster(computer). I would be at the airport at 8 AM and would not get home until 8 PM , or until I ran out of water. I completed the cowl mounting and installation, the breather system, the exhaust system, all the heating and ventilation ducting, and the ignition system. I came up with a new strategy for visitors, I would stop working and set down my tools , 9 times out of 10 after 5 or 10 minutes they would realize that they were hindering progress and leave. I never came up with a good answer to the inevitable question that only people that have never built an airplane ask, "when will it be done"? With all the systems complete it finally came time for the flame test. I like to pre-oil my engines before the first start and depending on the method used this can be a messy task. I had been thinking about this since we did Scott's Dream Machine motor where he pumped oil in the pressure line with a old oil pump can. I came up with this brain storm that I call the Po Boy Preoiler !

You can see , it's a length of 4 inch pvc pipe with one end a cap and the other a sewer clean out cap. I drilled and tapped two places for 1/8 pipe thread fittings. The top hose terminates with a Milton #2 air fitting and the lower goes to a 3/8 pipe plug that screws into the front engine gallery. Here is a better picture of the engine fitting.
This worked great, unscrew the top, make sure it's perfectly clean, pour in a quart of oil, connect an air pressure source of 20 psi and wait. I pumped in an entire quart and as soon as air showed in the line I disconnected the air. This fills the entire oil system before start and gives you a test of the oil pressure line and gauge since it should read the air pressure applied. The only mess comes when you remove the fitting and install the regular pipe plug.
With this complete it was time for the flame test. I called my friend Claude and he did the cockpit honors while I pulled the prop and watched and listened for problems. The first run was 5 minutes @ 1000 rpm per Continental instructions.
Here is the happy owner just after the first engine run. Check out those old man boobs I'm growing! Another 10 years and I'll have to start getting mammograms.
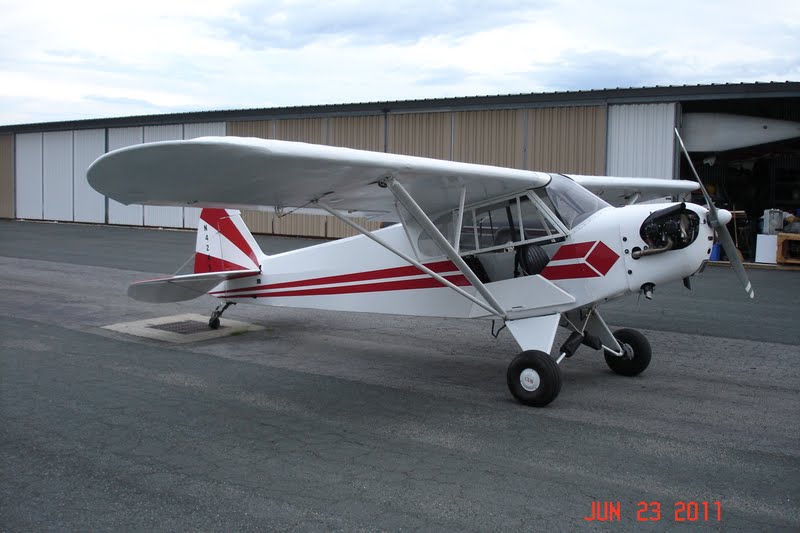
That evening I came out and completed the second run of 7 minutes, that included a magneto check and a short static runup. Everything checked out and she is ready for a test flight when the weather conditions are just right. Here are a few shots of her on the evening of the 23rd. Not perfect but not bad either.
The plan was to come out early Friday morning when it was cooler and complete the first flight, however I worked so hard on Thursday I could not muster the energy to get up that early. The first flight was completed on Friday evening .