Had a lot of other projects this week but have made a little progress on the Cub. While watching the Redskins win ?!?!?! last weekend I had a brainstorm on the interior trim panels. I searched online for a local store selling the paint pen that I had been told to use, but could not find one close. Everyone online wanted too much for shipping just one item. The best pen I found was at Tower Hobbies, a Sharpie Enamel marker. Most of them are oil base paint which I guess would work. While sitting at my desk , I thought what if I just scrape off the black paint and expose the white epoxy primer underneath ? I started on the trim panel with a single edge razor blade and after 10 minutes of careful work it was done. Any place I messed up I just touched up with a Black Marks A Lot. They all came out OK, not great but not terrible either. The big letters on say Throttle were harder to get clean edges on than the smaller letters. Here they are ready to install.


I had been kinda stumped on how to fix the brake line in the right gear leg. There are normally two sheet steel clamps that secure the copper brake line inside the gear "vee" . On the right side the line was no longer secure in the top clamp and was free to move around. I thought about just putting a cable tie around it but that would show on the outside of the front tube and would not really be legal. I ended up cutting a hole in the fabric(ugh!) to see what was really going on and what my options were.
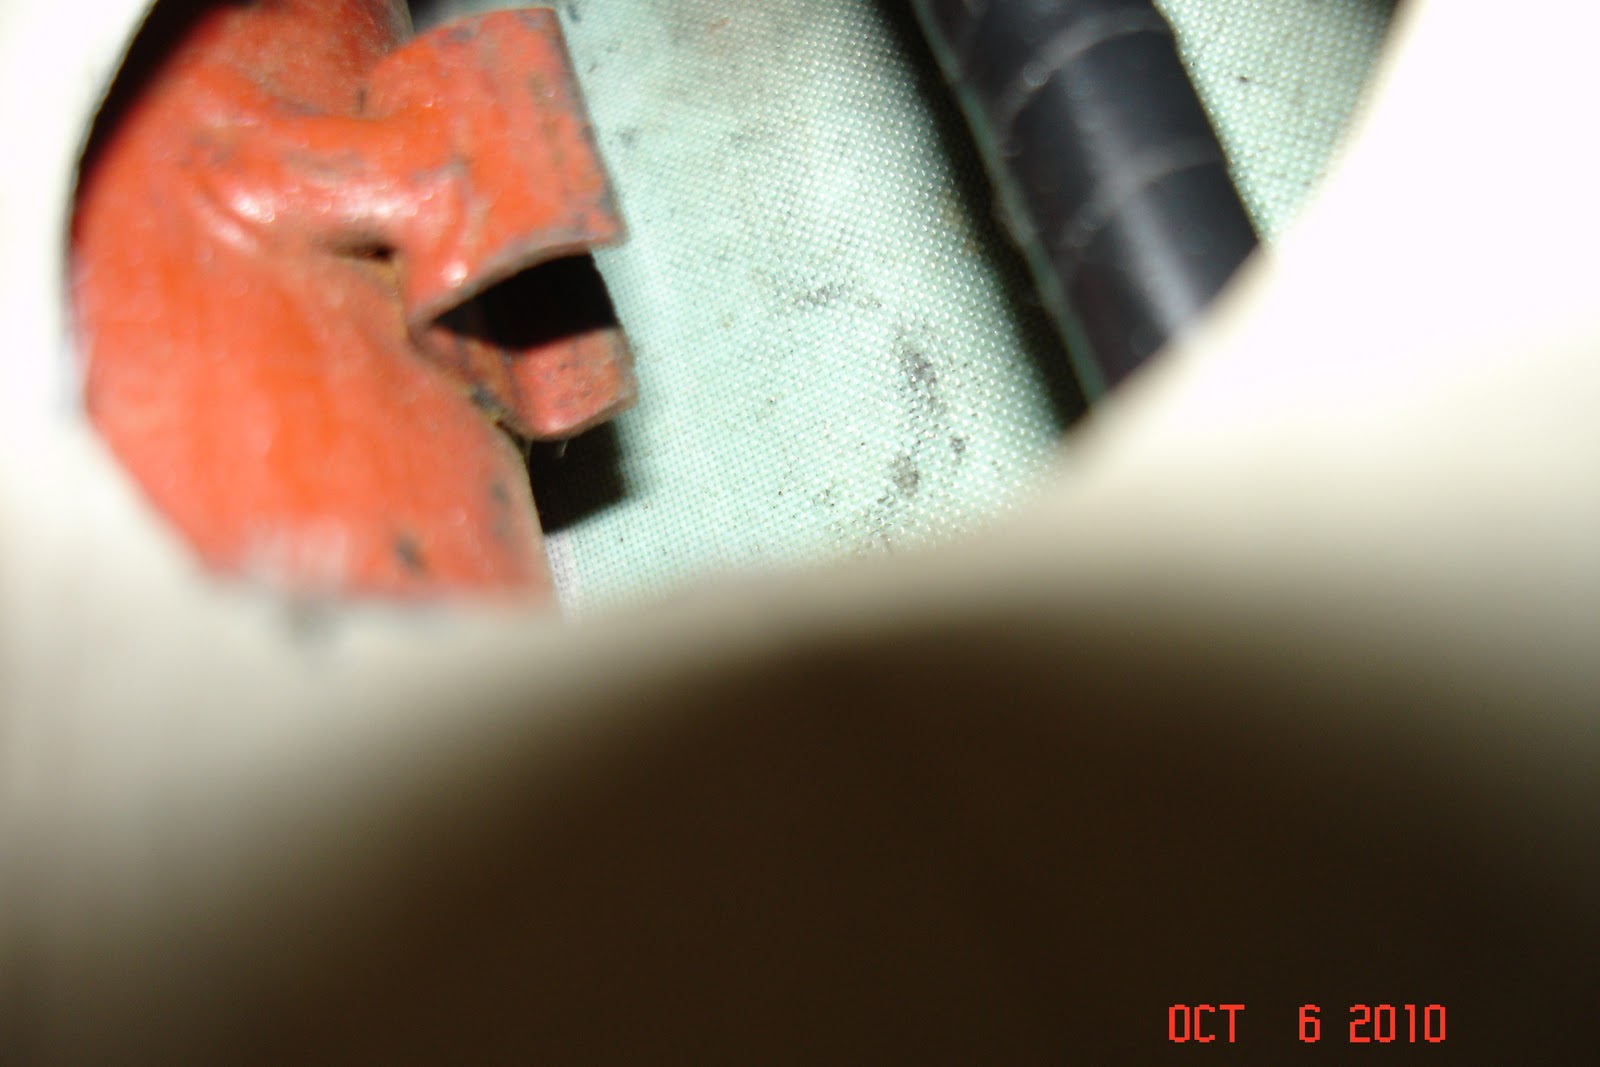
As you can see one of the legs of the clamp is broken in the middle and the clamp will no longer perform it's function. You can see how ugly the upper brake line exit hole in the vee fabric has become due to the broken clamp.

I had been thinking about this one for a while and it hit me last week how to fix this right without uncovering the landing gear. Using my 90 degree drill I carefully drilled a hole in the remaining clamp section , then I made this modified clamp to hold the brake line.
I figured there was no way I could get the nut started, working in that hole so I modified a nut plate and riveted it to the clamp.Here it is all installed with the new brake line.

A little MEK should clean up that dacron good enough for a patch to stick. Since it's on the inside bottom and these will need recovering some day the patch will not have to be prefect.

I decided to go with copper tube all the way to the brake. If necessary, I can always add a flex line later. The original expander tube brakes used all copper tube. There should be enough flexibility/play to allow adequate movement for the disc brake adjustment as the pads wear.
Except for final bleeding that completes the right brake. The left brake has it's own set of issues, more on it later.
BC is all stressed out, he's going to the vet tomorrow, wish him luck !


No comments:
Post a Comment