Sunday, December 26, 2010

Epic Storm ?

Well, that's what the news is calling it. Started to snow Christmas day about 2 pm and ended today about 5 pm. While it is a lot of snow for us, it is supposed to go above freezing tomorrow and approach 60 degrees by Saturday. I went out this evening to check on outdoor kitty's and to clean off the car. I would say 10 inches with drifting to 12-14 inches. The roads are covered with packed snow and are passable. Here are a few shots.


It was a great day to curl up with a good friend and watch football, the Redskins even won for a change. The Cub is on hold till it warms up a little.   

Tuesday, December 21, 2010

Throttle Question

OK , I need help with this one. I have lots of pictures to help put the Cub back together but none of this area. I need to know how the throttle cable is attached to the side of the fuselage just behind the instrument panel. Here is a shot of mine.
The back of the instrument panel is at the left, the black tube is the cross member at the lower edge of the panel. The small silver/rusty tube in the middle is the throttle casing clamped to a welded boss on the fuselage longeron.
After leaving this clamp , mine runs over this diagonal tube then down to the hole in the firewall. I am wondering if there is a special clamp that is longer and allows the control cable to run under this tube instead of over. Of course the Piper parts manual pictures don't show this installation, and the clamp does not have a Piper part number. I would like to make sure this is correct before I install the instruments and it might still be possible to correct. Here are a couple more shots of the same area.

I finished the pitot and static system today, however the batteries died in the camera so no pictures. I hope to finish the magneto wiring tomorrow.

Monday, December 20, 2010

Fuel system complete

Wow, progress has really slowed. With the holidays and some home projects, I'm only getting a couple hours a day on the Cub. Today I finished the right side of the panel and the fuel system. Yesterday I finished making the hoses for the fuel system. I had some problems initially , I think just because the hose was so cold. I could not get the fittings to go on without the tool slipping right near the end . I finally took the hose in the house and heated it in the oven at 100 degrees and everything went smooth. The fuel has been on for a couple days now with no leaks noted. Here is a shot under the tank.
  Here is a shot under the panel showing the installation of the primer, oil temperature and oil pressure lines. It is a real back breaker working up under here, so I took special care to hopefully make this maintenance free for years.
Here is a shot on the engine side of the firewall, I will probably seal all the holes with fireproof putty after everything is complete.
And here is the gascolator and the fuel line to the carburetor.
Last but not least, we have the right side of the panel with the gauges installed for an extended trial fitting.
I'm still looking for the "solo rear seat only " placard, not sure there was one with the project. It goes where the two small holes are at the lower right. I will install a slip / skid ball after the airplane is assembled and leveled. The temp is supposed to moderate this week, so I may get the panel finished and start on the cowl.

Thursday, December 16, 2010

The Bristol Type C

We will be off the Cub project for today. There was a request for information on the Foxboro airspeed indicator on the Waco Club forum. I think I have a Foxboro, but could not find it today. I did locate my Bristol Type C airspeed indicator which I think was the predecessor of the Foxboro Company . I think they are identical in design and construction, however I could be wrong. Here is a picture of the Bristol.
As you can see it is a beautiful flange mounted Airspeed indicator with a 4 inch glass face. The radium on the 30,60, 90 , 120, 150 has long since lost it's "glow". Where it chips off it leaves a nice gold finish underneath. The question was about the glass face. Since this instrument came to me without the glass I can only estimate the original configuration. The aluminum bezel ring unscrews in a conventional manner. Using the paint witness mark on the main case , I estimate the thickness of the glass and any gasket between the bezel and glass at 0.125 inches. The diameter of the glass should be 4.000 inches.
I believe that this early airspeed operates differently than what we know today. The back is marked just like airspeed instruments are marked today.
  However, the "S" stands for suction and not static as is the case today. I have read that at the time this was made, thin metal bellows technology had not evolved to the point where they could get enough deflection with pitot pressure alone. A combination pitot/venturi sensor was used to provide the necessary pressure differential. Here is a picture of a set that was for sale on Ebay a while back. Of course it went rich.

  When you examine the instrument you can see that it operates opposite to what we know today. In this picture you can see that the pitot pressure fills the instrument case and effects the outside of the operating bellows. The suction pressure is applied to the inside of the bellows and the resulting differential operates the indicator needle. This shot shows the internal plumbing.
You can see that the "P" side simply vents into the case, while the "S" side has the small copper tube that I assume vents to the bellows. This design makes the sealing of the case very important and there is and "O" ring seal on the front edge.
I measure this O ring at 3.975 OD and 3.760 ID. that would make it about 0.125 diameter. Remember this one is 90 years old so measure your case and get an o ring to fit. Tom I hope this answers your questions, let me know what you find out on the glass, I need one too. Check your instrument before ordering, as this picture shows the type E Foxboro has a slightly different bezel configuration.

Wednesday, December 15, 2010

Engine Details

Just a little update since I have not posted in a while. It got really cold here and my progress has been slowed considerably.  I have been working on the engine installation and finishing the instrument panel. I started by fitting the exhaust system and measuring it before I send it off to Dawley for rework/modification. Piper never made a exhaust system for the -12 engine installed in a stock J3, so every one is custom made. This is the problem area,
The oil screen housing on the -12 engine is on the right side and much lower than on the -8 series engines. After removing the muffler shroud I was able to install the screen housing and get some accurate measurements. I calculated that for my airplane the muffler needs to be 1 inch lower.
After documenting all this I sent the two stacks off on Monday, they say they are swamped right now so it's hard to say when they will come back. I hope they can reuse the stamped collectors, otherwise they will make new ones from round pipe. On the left side they just change the angle of the long pipe.
  On the right side , they change the angle and increase the length of the two riser pipes.
It will all look as nice as the muffler when I get them back. They did the muffler last year. I then completed the installation of the oil pressure gauge. I got the new flex line from Univair ($85 !!!) it has the restrictor fitting built in and the original auto type fitting on the other end. Per original I used 1/4 inch copper tubing , I sleeved it with vinyl tubing to protect it from chafing.  Here is the final install,
Here is a shot of the inside, I still need to run the primer "out" line and this side will be finished.
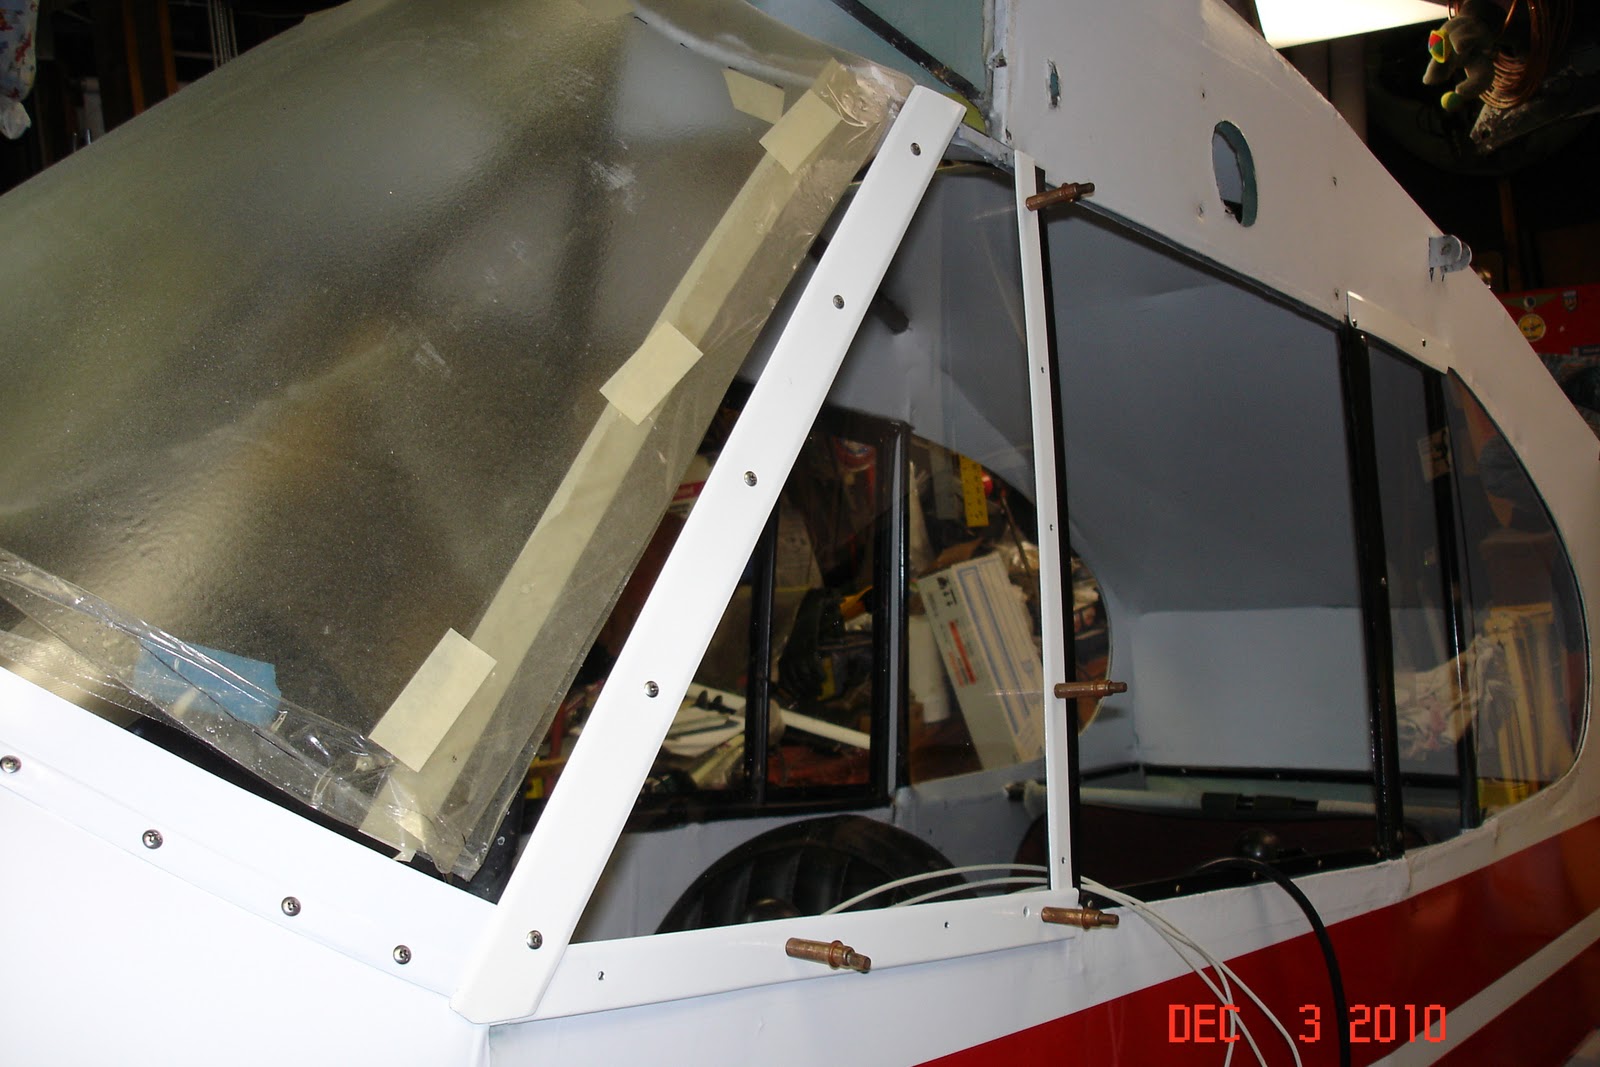
Today I worked on the tach cable, cabin heat, and throttle.
To avoid sharp bends the tachometer cable curves up over the mount then back into the rear case. The throttle exits the firewall next to the tach cable, and the cabin heat comes through the upper hole. I sleeved the cabin heat cable with vinyl tubing because I have the old style heat box and it tends to chafe inside the cowling. This shot shows the control attachment at the heat box.
The throttle will have to wait until I get a chance to paint the special mounting clamp, and the return of the exhaust pipes. I did run into a little problem with my fuel drain system. If you remember I ran the drain line all the way back to the rear corner of the boot cowling. The problem was that when the drain was released the vacuum created would not let the remaining fuel drain from the line. I solved this by incorporating a vent in the drain line, it works great now.
 I have been told that this is the case even without the extended drain tube.That's it for visible progress, hopefully after the snow/freezing rain tomorrow we will get back to seasonable temperatures next week.

Thursday, December 9, 2010

Mockup engine installed

Been a while since I posted, had a lot of distractions this week. One of my outdoor cats disappeared for a few days so I had to put out an Amber alert . He showed up this morning, but is limping a little and won't let me get hold of him. I'll give it a few days and if he gets worse , I will have to trap him. Here is a shot of him, his name is Mr. Chicopee.
Been making some progress on the Cub, it has been really cold with highs only in the 30's so my work time has been limited to daylight hours. When it's dark and cold , I just don't feel like working.  I have been plumbing the instruments and finishing the panel. I have a bunch of fittings and parts on order for Friday delivery. I should be able to finish the panel this weekend. Here is a shot of the final installation.
The "g" meter has glare on it from the flash. The primer , oil pressure and temperature still need a little detail work on the plumbing. The tank now has 2 gal of 100 LL in it and is leak free so far. Still need to run the pitot and static lines, the material will be here tomorrow. The screws to complete the windshield install will also be here tomorrow. I really needed to install the mockup engine so I could run all the fluid lines and controls, so I did that today. I got my engine hoist from the airport and it went on really easy. This allowed me to finish the oil temperature, primer fuel inlet line, and oil pressure line. I still have to fit the primer fuel outlet line.
    I also fitted the exhaust pipes to determine the drop necessary to clear the oil screen housing. With these measurements I will send both stacks off to Dawley for rebuild and modification. The muffler and tail pipe have already been rebuilt. The only original part they will use will be the formed double stack collector. I will measure again tomorrow, but it looks to me that the muffler needs to drop 1 inch.
I'm not sure how long this will take with the holidays coming. I will send them off tomorrow. I also fitted up the cowling. I was going to order a new cowl from Univair, but I think I can rebuild an acceptable one from the parts that I have.Since I want to install the F&M oil filter it would be a shame to cut up a brand new cowl.
You can see the filter housing in the picture above, it requires a hole to be cut in the side of the top cowl. The white filter sticking through looks like crap on a yellow Cub but I don't think it will be that noticeable on my white airplane. Here is the cowl installed, I will replace the fiberglass nose bowl with a rebuilt metal one.
 
It will take some sheet metal work but I think I can make this work OK. I also did some work on the wing root fairing, but I did not take any pictures. They will have to wait for the wings to be installed to be fitted . That's it for this week, I had hoped for more progress but the cold has slowed me down.

Sunday, December 5, 2010

Windshield completed

Not a whole lot of progress this weekend, however I try to do something everyday. On Saturday it was clear and sunny but cold, so I disassembled the windshield and spent a couple hours grinding , filing, sanding, and polishing all the edges. Hopefully this will keep it from cracking in service. With my coveralls on I could do this outside and that kept the mess out of the shop. Saturday evening we had our regular airport Christmas party. On Sunday morning I woke up to this scene.
The perfect Virginia snow, gone by noon! I got a late start, but I finally installed the windshield for an extended trial fitting. Before I installed the small triangular left side window I installed a vista vent from Aircraft Spruce. I tested on the scrap piece of plexiglass and found the 2 1/2 inch hole saw melted the material and made an ugly hole, so I ended up using my small fly-cutter. I installed this at the top of the window because when you sit in the back, it would be in your line of sight when landing at the bottom. It really looks much better than the cheap snap vents.
I did run out of 1/2 inch #6 screws, so I will have to replace some too short screws, but it is in!
 
 I plan to replace this piece of fairing, the holes are really ugly. I will install nut plates for the wing root fairing screws. Tomorrow I plan to work on the skylight and that will finish the windows.
While I was working on the windshield I got a brainstorm on how to fix my static system problem. I wanted to install a static system to eliminate the airspeed/altitude change with window/door position. The problem is the sensitive altimeter is longer than the original and a regular AN fitting would hit the back of the fuel tank. I decided to use a standard brass cored pipe plug and make my own fitting. I used my drill press to drill one of the wrench flats #12 almost all the way through. I soldered in a length of 3/16 copper tubing, then drilled the center through with a #40 drill. Here are a couple pictures of the end product.
 
Here it is installed, fits great and has adequate clearance with the fuel tank.
Sometime this week I should install the fit up engine. Check back in, were making progress.


Saturday, December 4, 2010

More windshield

Started out this morning finishing the interior covers. I wanted to use the existing screw holes in the fuselage structure and that always takes more time. Using a few tricks and a lot of luck these came out looking respectable. Here is a shot of the aft cover.
Here is the front cover, they are finished except for a little smoothing and paint.
I then worked on the two windshield attachment post channels I made yesterday. I had to drill new screw holes for these because the old ones were stripped. This would have been impossible with the windshield installed. Here is the right one installed.
Here is the left one , it is cut out at the top and bottom for the pitot lines and mag switch wires. I'm still not sure how you get the screws in with the windshield installed.
I hoped to get the windshield installed today, but that did not work out. The little triangular window on the left side kinda kicked my butt. There is a lot going on at this left post where the windows overlap and three trim strips meet. I had to make some value judgments and I think I made the best decision. Here is the spot that took so long to sort out.
The three trim strips, the boot cowl, the windshield and the side window all meet here. I've looked at a lot of Cubs and every one is a little different at this spot. Here is what I ended up with, it will look better over time as the screw pressure bends the plexiglass to shape.
I plan to install a "vista" vent in this little window, people say it is hot in the front seat with the overhead skylight. I also fitted up the right side and the door fits good. Tomorrow I will remove all this and do some final polishing of the edges on the windshield then put it back together with some foam sealing tape.
That was it for progress today. My helper pussed out on me, said it was too cold!