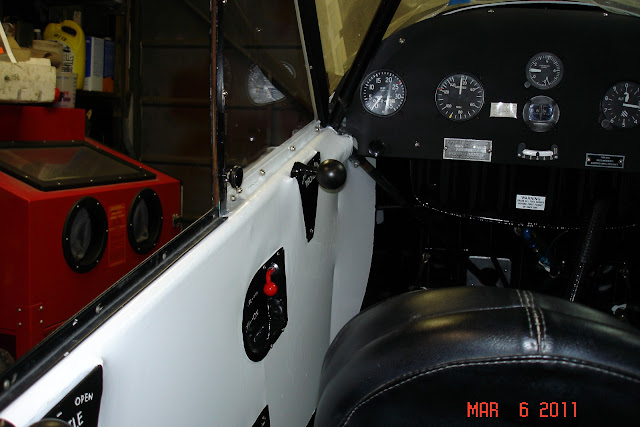
Well the cold months really slowed progress on the Clipwing. Thank goodness spring is here in Eastern Virginia. I have completed a few items on the Cub. I finally completed the panel installation with all the required placards and markings. The rear seat solo and the fuel drain placard came from Wagaero . The Clip Wing placard required by the STC I had made at the local engraving shop, it came out really nice. I ended up putting the data plate on the panel, it should be on the inside of the baggage door but I don't have one. Here are a couple shots of the completed panel.
Here are a few detail shots.
I think the panel came out pretty nice, here is a shot of the pitot installation and my own design static system. It took some work to fit the two tubes up the windshield channel, but I managed to get it to fit.
I took the easy way out on the static line to the altimeter and just used flex hose and tie wraps. It will still be better than just venting into the cabin as original.
I also completed the inside windshield trim , like I said before it was a tight fit with the pitot and static lines and the mag wires. The covers I made fit really nice, you can just see the two 1/8 aluminum lines and the wires at the top of this photo.
In this photo you can see the pitot lines and the installation of the mag switch and wires. I bought the shielding can for the A7 switch from a guy on Ebay. I had to mod it a little for the Cub installation because the wires came out the back and would hit on the wing compression tube. The back of the A7 switch is just phenolic and "leaks" radio noise that my Icom picks up constantly. Hopefully this will solve that problem.
Here is a shot of the mag switch inside.
I also installed the seat belts for the front and rear seats and completed the right side window installation. The right window has been modified in this airplane and is really pretty heavy. I was talking to Buzz about it and he says his window will flex in flight and vibrate when operating with it open. Here it is all finished.
I used those little closed end nuts instead of lock nuts to cover the screw threads on the inside. I may have to put a little lock tight on these because they are not real tight so they won't crack the plexiglass.
I'm working on the cowl this week, and will finish it before the fuselage goes to the airport. With the warmer weather I have been working a little each day on cleaning up the hanger so she will fit in for assembly. Thankfully the airport owner has a fork lift to move this!
The exhaust system is back at Dawley for the third time, hopefully this time I will finally get it right. I think my helper might have put the jinx on it.


No comments:
Post a Comment