Started the week working on the instrument panel, this picture shows the panel when I purchased the project.
Here is a picture of my first half ass repair attempt, airworthy but not pretty. These are the instruments that will be fitted. I have "Cub" gauges but I like these better.
When I striped the panel for painting , I noticed the mounting holes for the altimeter were cracked so I decided to fix it right. There was a piece missing and the panel was cracked around the mounting holes for the "G" meter and the sensitive altimeter due to their longer length and greater overhanging weight. Other than that it was in pretty good shape. I had one of Clyde's panels in my hand at S&F but put it back down. I figured it would crack in the same places, so I should just properly reinforce this one. I did not take any pictures of the repair process, but I fitted two 0.032 aluminum doublers behind the panel and flush rivited and glued them with T-88 epoxy. You can see the end result it this picture.


While I was waiting for the glue to dry I got all the steel engine parts and the fuel tank ready for paint. Here you can see the intake pipes, dipstick, oil tank , rocker covers, cowl mounts, fuselage pully covers, back of crankshaft flange and engine lift eye. Here they are after Stits epoxy primer.
On Thursday I painted the engine parts Black and Continental Gold, they came out pretty nice.
Notice I used my tape "dots" I bought to mask the locations of the mounting nuts.
These were much easier to paint flat like this than vertical on the screen when I primed them.They were easier to turn and get an even finish.
I could not decide what to do on the panel. I don't like flat black so I thought about mixing some white and black and getting a nice dark gray. My friend Scott said I should go with rattle can wrinkle finish, I was sure this would not work and when I saw it was $8.50 for a can at Advance I decided against it. I stopped by the airport to check progress on Scott's Don's dream motor and when I saw his panel it was beautiful. The secret is follow the instructions until it says to wait 2 hours for it to wrinkle. At this point use a heat gun , it takes a while to heat the entire panel evenly, stay with it, it's almost like magic when it starts to wrinkle. Here's the end result.
Not bad for a spray can ! The more even the three wet coats are applied the more even the wrinkle finish. I was told you could spray additional coats and then wrinkle it again with the heat gun but I found that this resulted in a very minor variability to the finish.
Friday I spent the day helping with the Don's dream engine ?? Here are a couple pictures of his special intake spider. It looks like an A65 spider that he grinds out into a venturi shape.
Here is a stock A-65 Spider.
Here is a stock C-90/0-200 intake spider.
We ran into a problem where the intake elbow for the #4 cylinder hit the exhaust manifold and would not bolt down flush. Scott's going to take it to a machine shop on Monday.
On Saturday I could not put it off any longer so the crankcase went into the solvent tank for cleaning and prep for paint. After 5 hours of taping it looked like this.
The rear case.
And the other side.
Here they are ready for some epoxy primer.
A little epoxy primer .
On Sunday morning I added some tape dots where the bolts get torqued and then shot the Comtinental Gold paint.
This was really the looooong run for the short slide but they really look nice . Here they are all finished up.
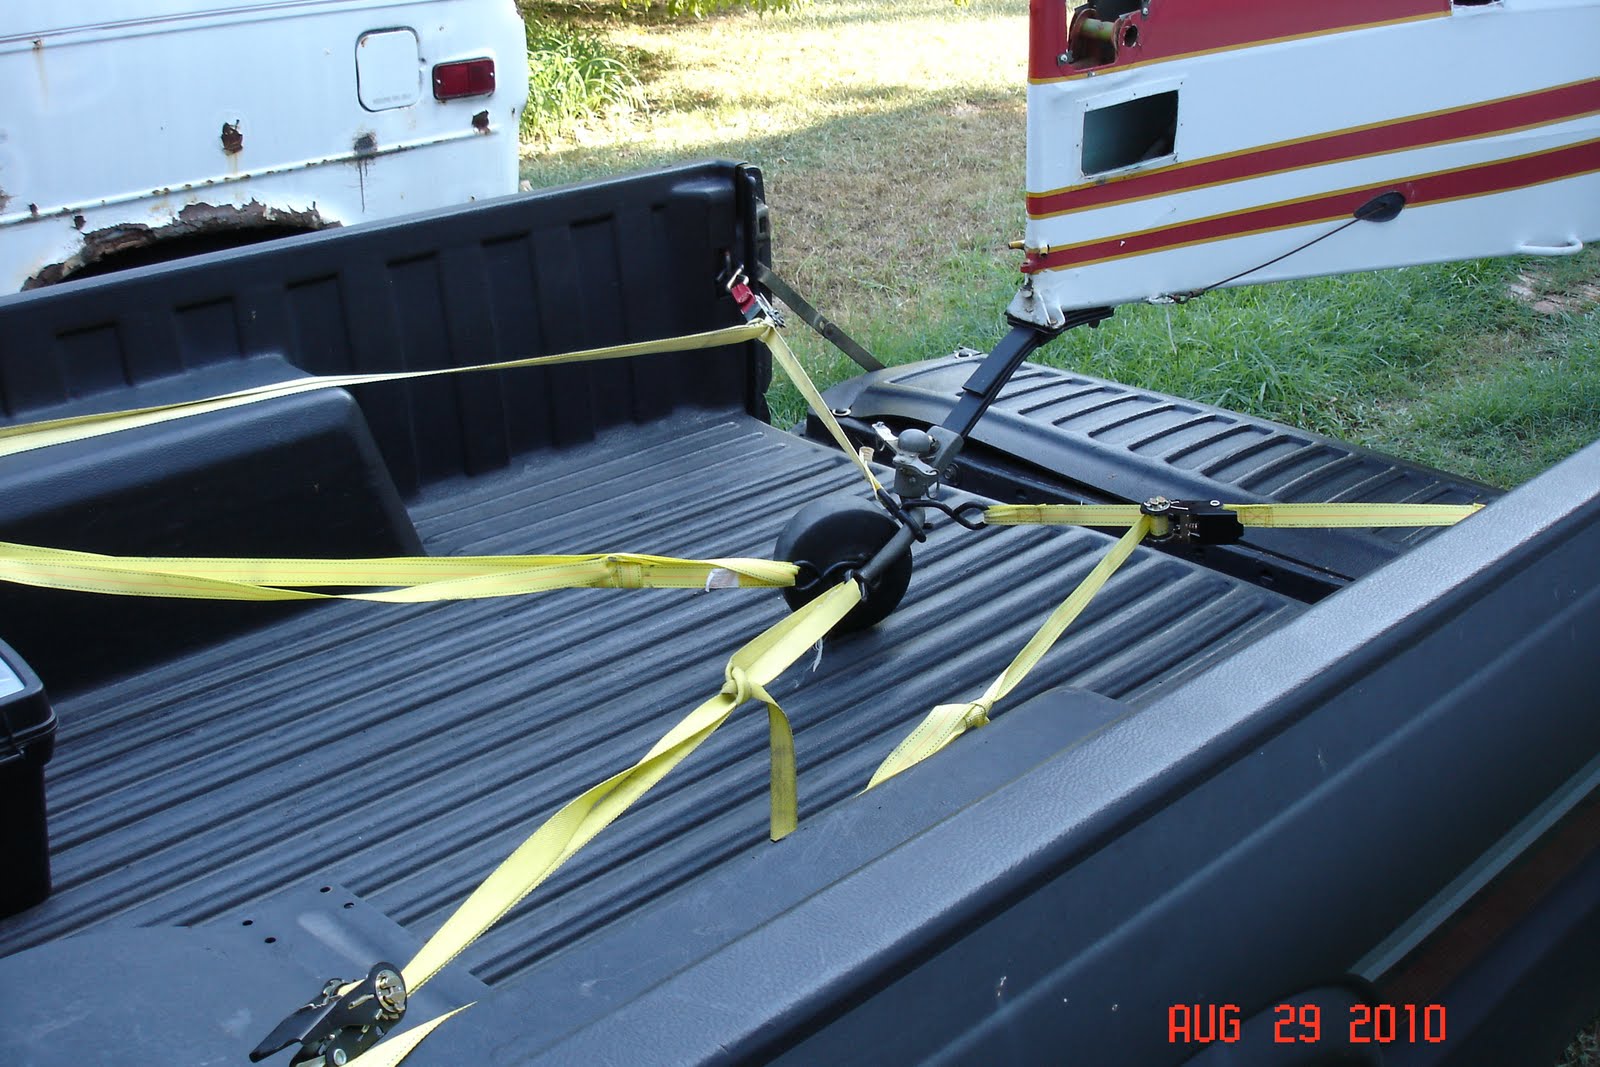
The weather forcast is for clear and dry for early next week so I went out and brought home the fuselage. First thing will be to repaint the red stripe.
The four point attachment to the tailwheel works great, just have to watch how tight you turn.
Thats it for progress last week , lots of little parts completed and assembly should be fun with everything clean and painted. The boot cowl ,engine cowl and the lower door will take some time, but those are the last big items. Till next Sunday .


No comments:
Post a Comment