Saturday, December 4, 2010

More windshield

Started out this morning finishing the interior covers. I wanted to use the existing screw holes in the fuselage structure and that always takes more time. Using a few tricks and a lot of luck these came out looking respectable. Here is a shot of the aft cover.
Here is the front cover, they are finished except for a little smoothing and paint.
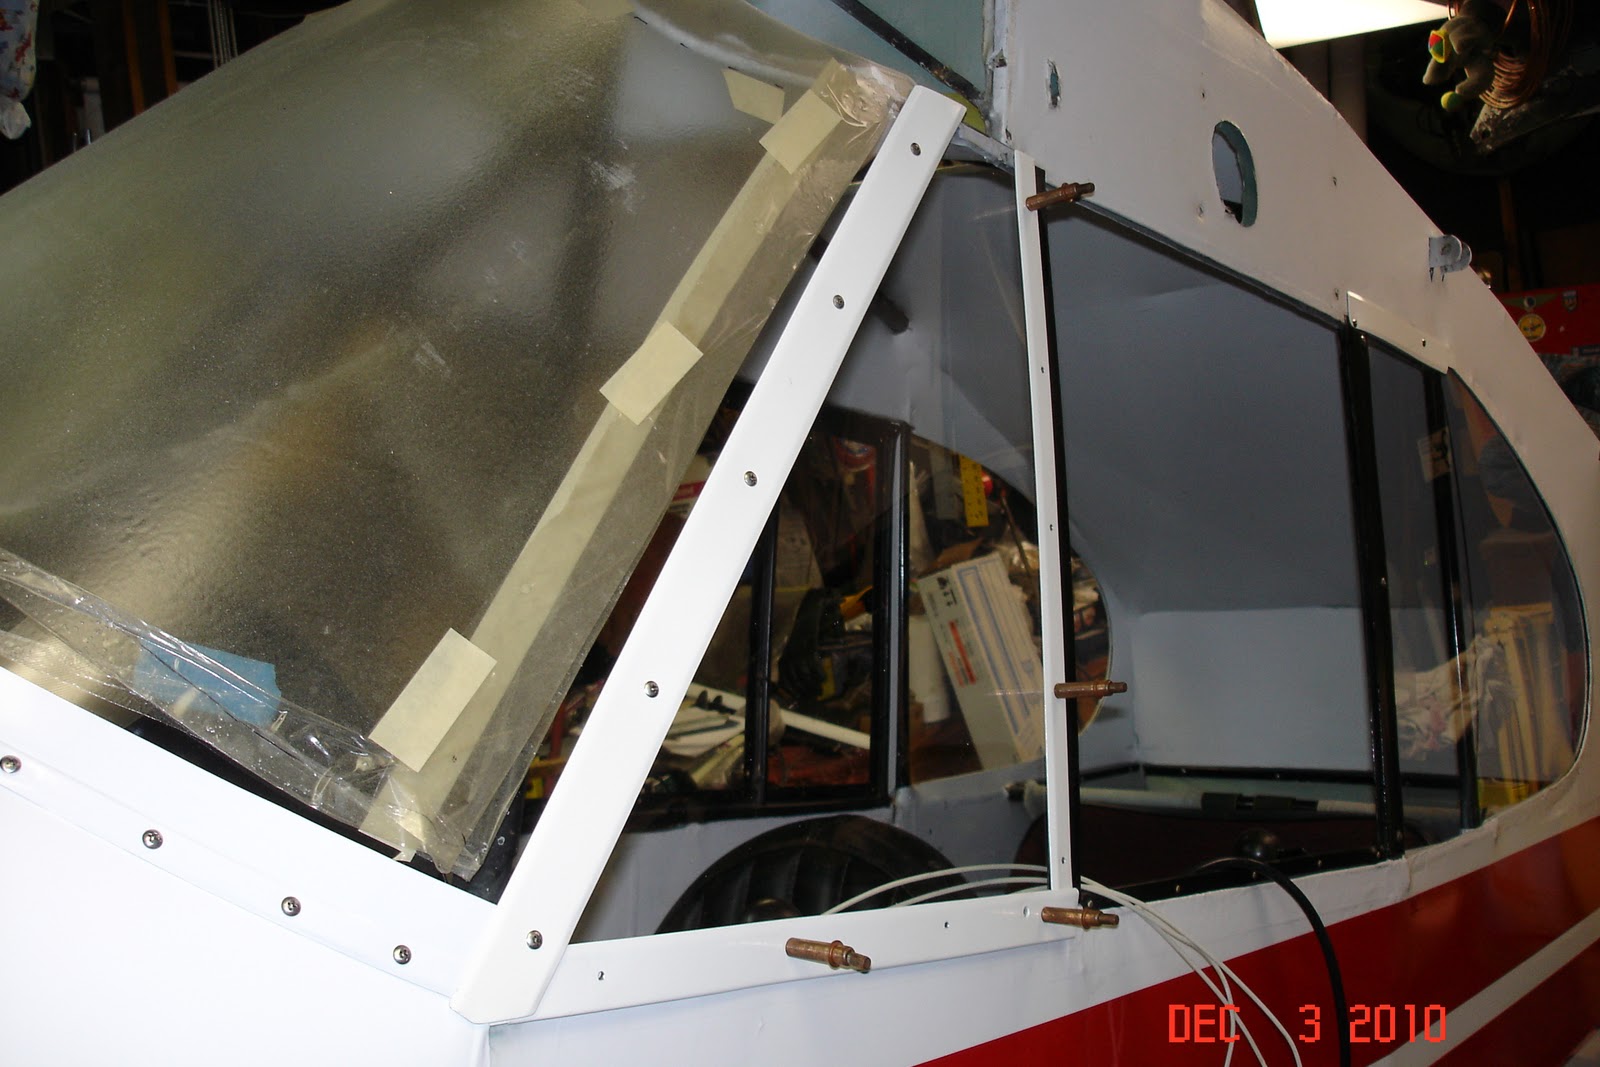
I then worked on the two windshield attachment post channels I made yesterday. I had to drill new screw holes for these because the old ones were stripped. This would have been impossible with the windshield installed. Here is the right one installed.
Here is the left one , it is cut out at the top and bottom for the pitot lines and mag switch wires. I'm still not sure how you get the screws in with the windshield installed.
I hoped to get the windshield installed today, but that did not work out. The little triangular window on the left side kinda kicked my butt. There is a lot going on at this left post where the windows overlap and three trim strips meet. I had to make some value judgments and I think I made the best decision. Here is the spot that took so long to sort out.
The three trim strips, the boot cowl, the windshield and the side window all meet here. I've looked at a lot of Cubs and every one is a little different at this spot. Here is what I ended up with, it will look better over time as the screw pressure bends the plexiglass to shape.
I plan to install a "vista" vent in this little window, people say it is hot in the front seat with the overhead skylight. I also fitted up the right side and the door fits good. Tomorrow I will remove all this and do some final polishing of the edges on the windshield then put it back together with some foam sealing tape.
That was it for progress today. My helper pussed out on me, said it was too cold!

Thursday, December 2, 2010

Windshield details

Been working on the windshield for the last two days. Trying to finish all the details that will be much more difficult after it is installed. After the rain stopped yesterday it stayed warm just long enough for me to get a little white dope sprayed on the spots I messed up drilling the windshield. I also touched up one spot that the boot cowl did not cover up.

With this completed , I needed to make the covers for the wing attachment bolts at the center of the fuselage. These were missing with the project, so using some pictures and card board patterns I made a set to fit this airplane. This would have been near impossible with the windshield installed. I still have a few screw holes to drill , and of course they have to be painted. I laid all this out on my helpers bed this morning when it was still too cold to work outside. I think he has lost interest in the Cub.
It took some cutting and grinding but I got them to fit pretty good. Here's the front one, it fits just behind the top of the windshield and covers the wing attach bolts.
and here is the back one.
I will take a picture tomorrow of these installed . Last week I helped the local mechanic with a mag timing problem, so today I called in the favor and borrowed their Harbor Freight shear/press brake to make some parts. The two strips of metal that cover the windshield side attach screws were both in pretty sad shape so I made a couple new ones. Here is a shot of the old ones, they were all cracked at the screw locations and all the screw holes in the fuselage structure were stripped.
Here are the new ones made on the press brake. They came out much better than I expected. I will drill the new screw holes tomorrow. These are just painted flat black so I will just spray can these.
With all this completed I will be ready to install the windshield for an extended trial fitting, hopefully tomorrow.
Check back in for some pictures. That's it for tonight, slow but steady progress.

Wednesday, December 1, 2010

Windshield progress

Not a whole lot of visible progress today, worked on the windshield this morning. Figured out today that I can't install the windshield strips with the windshield installed, they have to go on first then the plexiglass can be slid into the slot. It is so tight that I won't be able to put in any sealing foam tape.  I will just push some RTV  into the gaps after the windshield is installed. I final drilled the holes in the windshield and I will install it as soon as I touch up some paint I messed up. In the afternoon I went to the airport and got the engine I will use to mock up all the controls, exhaust, and cowl. I won't install this until everything else  is complete because it will take up the entire length of the garage. Here we are drilling the windshield.
Inspecting the engine.
This is the C-85 engine that came with the project, I won't put together my C-90 until the fuselage goes to the airport and is assembled. That was it on the Cub today, supposed to get cold for the rest of the week, so maybe I won't have as many distractions.