Friday, October 8, 2010

More brake lines


I managed to finish up the brake lines today. The left brake line was not as bad as the right one. Both of the internal clamps were still intact and the upper flare on the weatherhead fitting looked OK.

The lower fitting was a different story having been over-tightened multiple times to stop leaks.The copper line was so work hardened I had a tough time straightening it out enough for rework. I finally managed to push back the male weatherhead fitting and using a hacksaw blade cut off the existing flare. I decided to go with standard AN 37 degree flare fittings and ditch the hardware store original Cub stuff. Being unable to remove the copper line , I had just enough room to effect repairs. I hope this does not leak because there is not enough left to flare it again !


I did not have a 1/4 inch standard elbow so I had to use this bulkhead fitting temporarily . I will get one from A/C Spruce with my next order. Once again I went with copper line to the brake caliper.


Since the weather was absolutely beautiful I decided to start on the fabric repairs on the right "vee". I cut some repair patches from some ceconite 102 fabric scraps and attached them with Randolph Rand-O-Bond. This gear leg is pretty rough looking so I did not get too carried away. It still came out looking OK. Here I have removed the existing finish and then I smoothed the fabric with my little model iron set to 200 degrees.

I then cut and attached the fabric patches.


While I had the Randolph materials out I decided to fix a small rip and a hole in the interior fabric next to the rear throttle. I plan to repaint this side of the inside fuselage this week.


With these needing to dry overnight before shrinking, I went ahead and put the cotter pins in the wheels and installed the new hub caps. I also put the safety wire on the brakes. I'm still waiting on my bungee covers from Airtex (been 3 weeks now). I will bleed the brakes after the fabric work is complete, hopefully they won't leak too bad!

Thursday, October 7, 2010

Placards and Brakes

Had a lot of other projects this week but have made a little progress on the Cub. While watching the Redskins win ?!?!?! last weekend I had a brainstorm on the interior trim panels. I searched online for a local store selling the paint pen that I had been told to use, but could not find one close. Everyone online wanted too much for shipping just one item. The best pen I found was at Tower Hobbies, a Sharpie Enamel marker. Most of them are oil base paint which I guess would work. While sitting at my desk , I thought what if I just scrape off the black paint and expose the white epoxy primer underneath ? I started on the trim panel with a single edge razor blade and after 10 minutes of careful work it was done. Any place I messed up I just touched up with a Black Marks A Lot. They all came out OK, not great but not terrible either. The big letters on say Throttle were harder to get clean edges on than the smaller letters. Here they are ready to install.


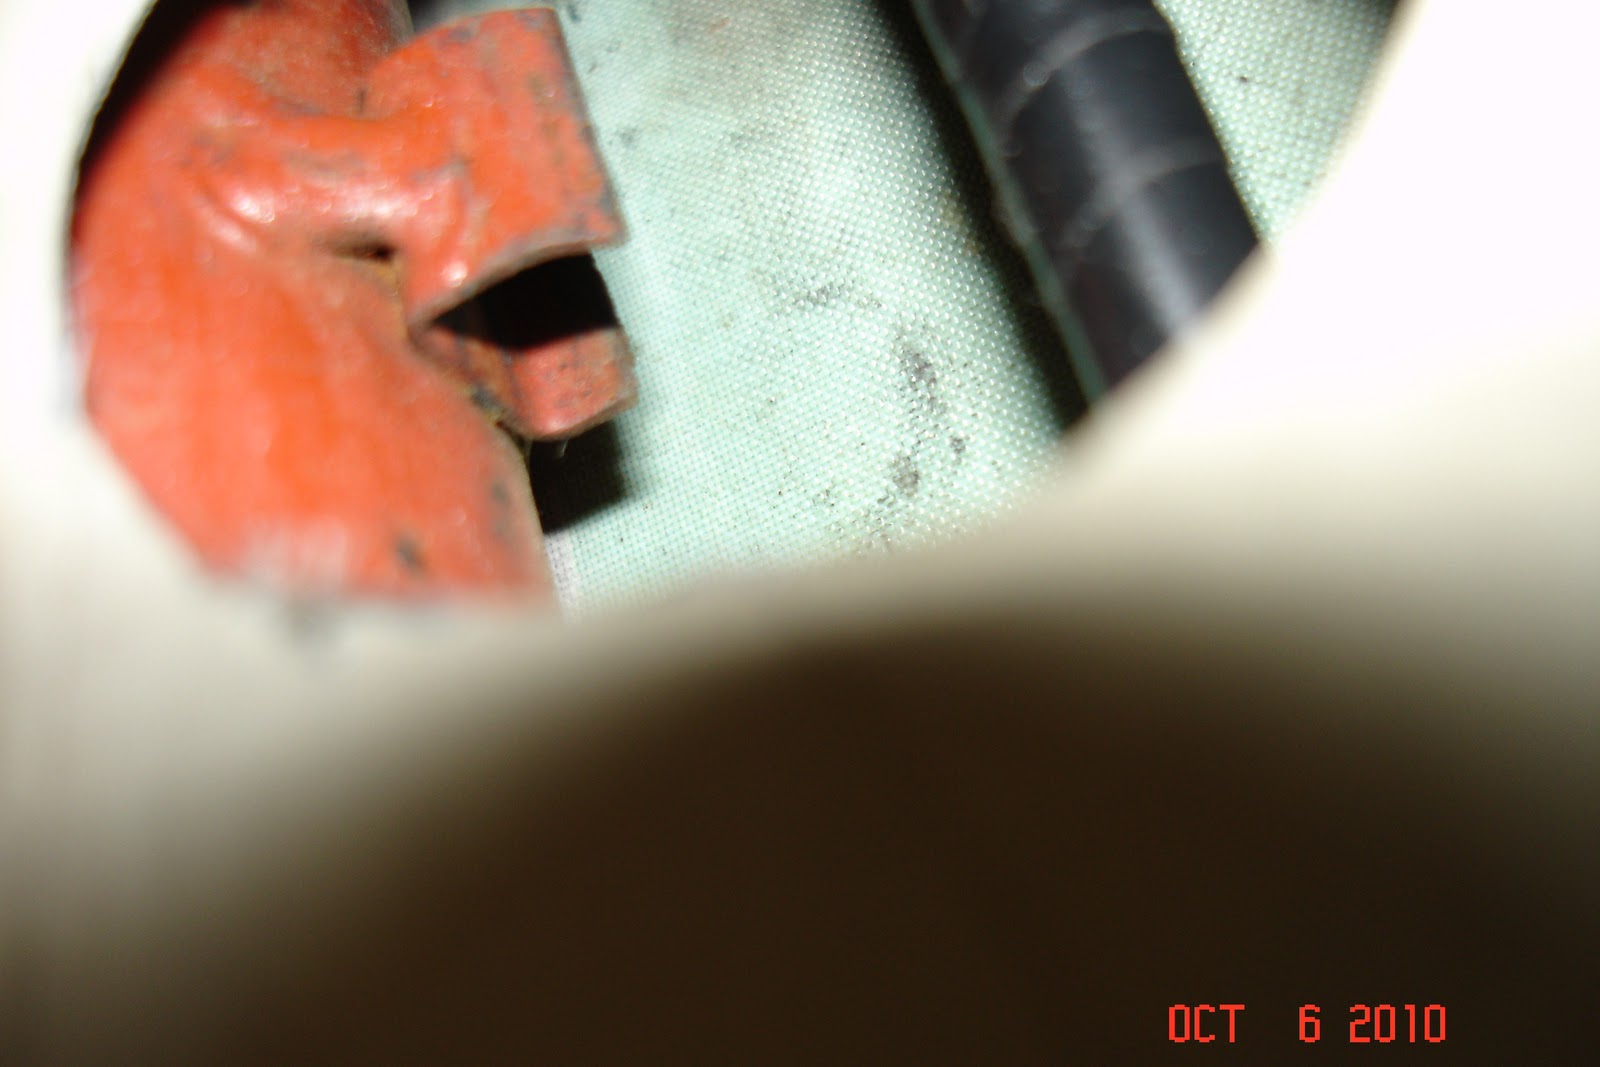
I had been kinda stumped on how to fix the brake line in the right gear leg. There are normally two sheet steel clamps that secure the copper brake line inside the gear "vee" . On the right side the line was no longer secure in the top clamp and was free to move around. I thought about just putting a cable tie around it but that would show on the outside of the front tube and would not really be  legal. I ended up cutting a hole in the fabric(ugh!) to see what was really going on and what my options were.
  As you can see one of the legs of the clamp is broken in the middle and the clamp will no longer perform it's function.  You can see how ugly the upper brake line exit hole in the vee fabric has become due to the broken clamp.

I had been thinking about this one for a while and it hit me last week how to fix this right without uncovering the landing gear. Using my 90 degree drill I carefully drilled a hole in the remaining clamp section , then I made this modified clamp to hold the brake line.
 I figured there was no way I could get the nut started, working in that hole so I modified a nut plate and riveted it to the clamp.Here it is all installed with the new brake line.

 A little MEK should clean up that dacron good enough for a patch to stick. Since it's on the inside bottom and these will need recovering some day the patch will not have to be prefect.


 I decided to go with copper tube all the way to the brake. If necessary, I can always add a flex line later. The original expander tube brakes used all copper tube. There should be enough flexibility/play to allow adequate movement for the disc brake adjustment as the pads wear.

    Except for final bleeding that completes the right brake. The left brake has it's own set of issues, more on it later.

   BC is all stressed out, he's going to the vet tomorrow, wish him luck !

Sunday, October 3, 2010

Progress grinds to a halt

My last post was back on 9/27, on that day the Lord said "let it rain for 4 days and nights". We got almost 20 inches of rain, at times there was 2 inches of standing water in the back yard. We got a whole summers worth of rain in 4 days. Too bad all my dogwoods were already dead ! I also developed a little roof leak, while not bad it did require constant attention to prevent serious damage. I will have to fix or have it fixed this week. I also got another hate gram from the city telling me my grass was 12 inches tall and had to be cut by Monday. Here's a shot of my dead grass before the rain.


On Tuesday I spotted an 12 volt E80-13b starter on Ebay with a reasonably fresh overhaul(2007). I threw in a low ball bid and got it for less than the cost to overhaul mine! It was right down in Hampton so we went down and picked it up . Of course that resulted in a trip to Northern and Harbor Freight and that day was gone !

On the Cub I did try to paint the embossed control covers, however my great plan was a dismal failure. It was not possible to wipe the black paint off the top of the letters and symbols. So yesterday I painted them all black and I will use the paint pen as recommended by my friend Scott. With my shaky hand, not sure how this will turn out ! Here they are all black.


  I have also been working on the brake lines , seems that the upper brake line clamp inside the right "V" is broken. Not sure how to fix this yet. Any ideas? I thought about just putting a ty-rap around it and covering it with duct tape! The "v's" would be an easy winter cover project, but I really do not want to do it now.

  That's it for last week on the Cub. Today were getting ready to watch the Eagles beat the crap out of the Redskins! BC has  already staked out his chair !